
I really enjoyed writing my first sewing pattern, and I wanted to do another one! The only thing about this one is that it's FREE!
April over at Sewing Novice had an idea that we could work together on a tutorial/interview, which was just the spark I needed to actually sit down to write a tutorial for you. There's nothing like accountability to another person! Head over to April's blog, read my interview and follow her sewing journey!
I have been making these lanyards for a while and they are hot sellers at back to school time. Teachers love them! I also have kits available in my shop with enough materials to make two lanyards! They are $6.50 and that includes shipping!
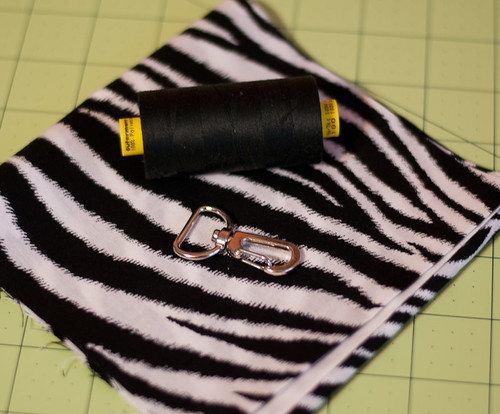
What you'll need:
4” of 44/45” wide quilter’s cotton
Metal clasp with a 3/4” opening
Coordinating thread
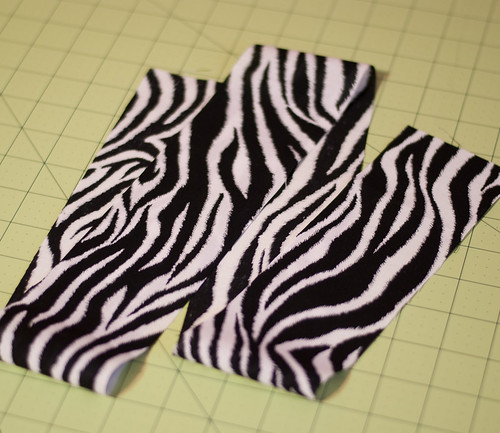
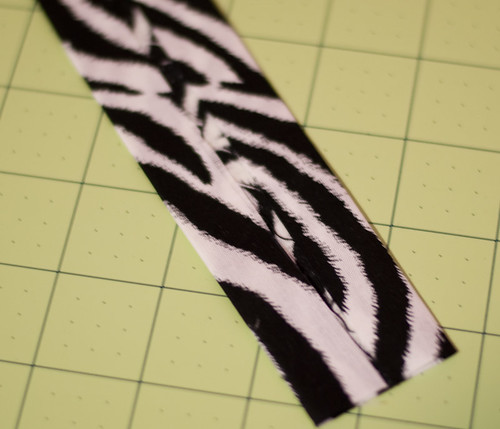
Step 1: Cut a 3” x 41” strip of fabric:
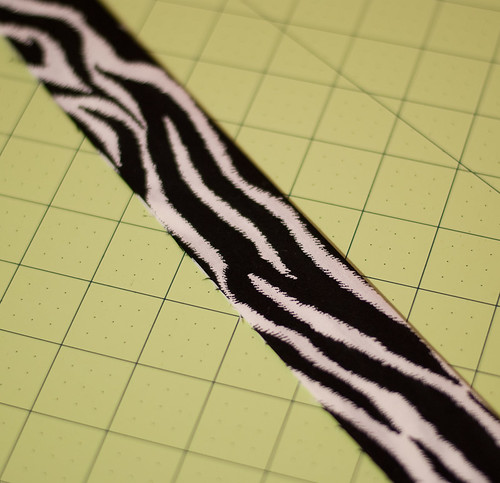
Step 2: Fold strip in half lengthwise wrong sides together and press a crease down the center:
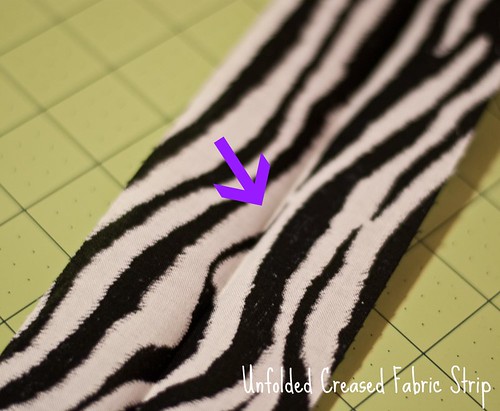
Step 3: Open the strip and press the edges toward the center crease you just created:
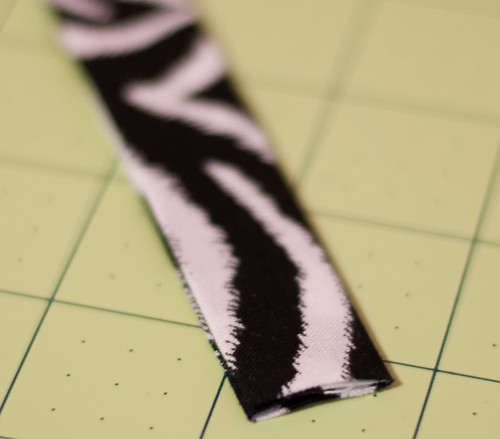
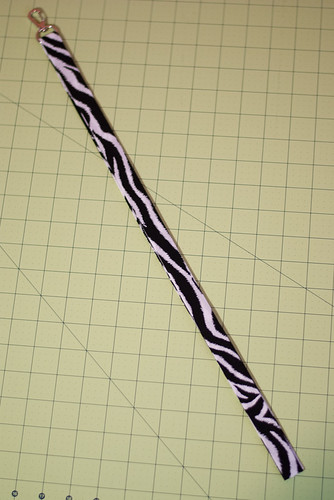
Step 4: Now fold the whole thing again like in the previous step to create something that looks like a strap:
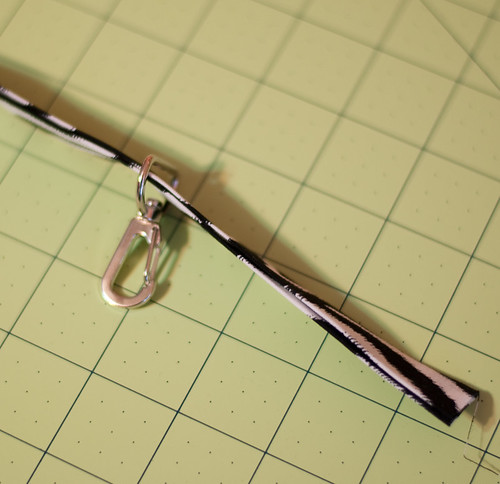
Step 5: Slip the fabric through the metal clasp:
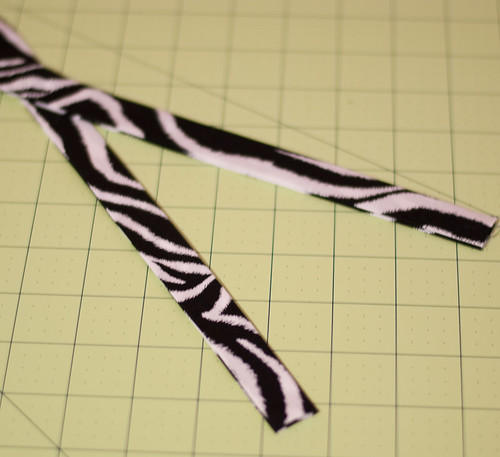
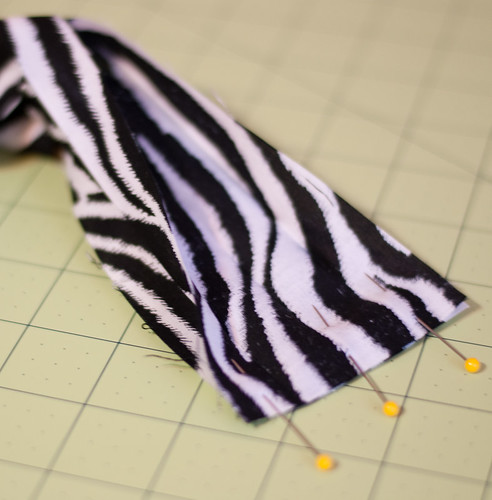
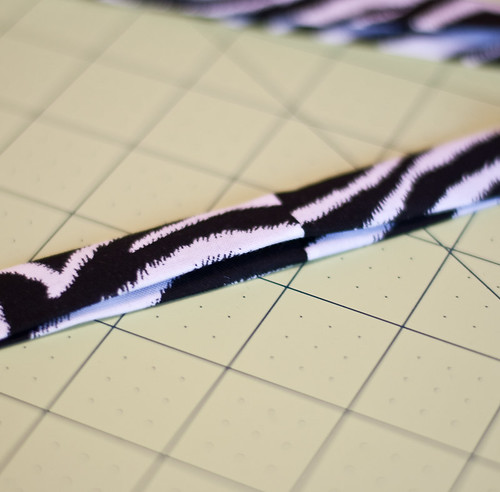
Step 6: Unfold about 3” of each end and pin right sides together, being careful not to twist the strip of fabric. You don’t want a twisted lanyard!
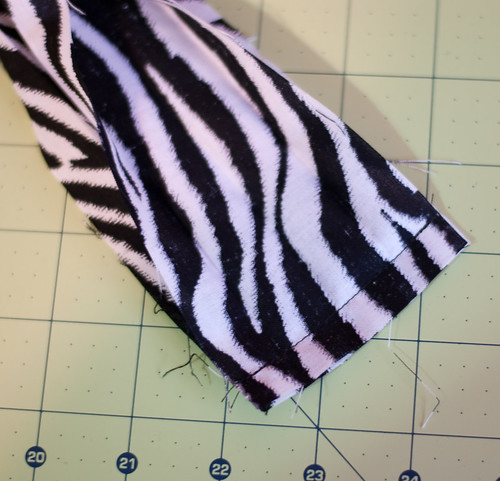
Step 7: Stitch .5” seam, press seam open and trim seam allowance:
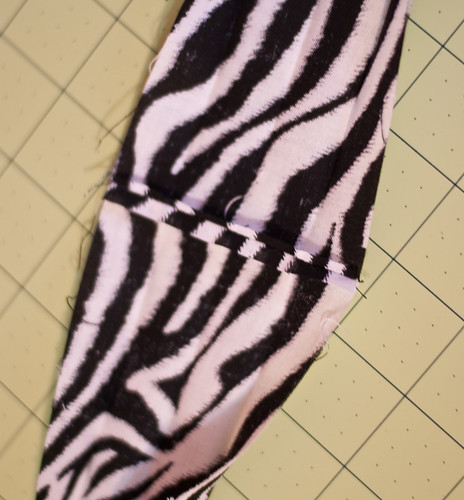
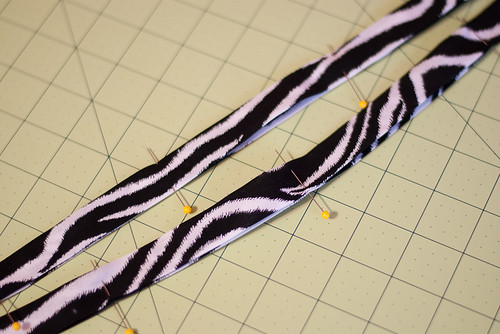
Step 8: Refold strip of fabric to encase the seam you just made. This will make a loop and will look like a lanyard!
Step 9: Pin your lanyard every 6 inches or so:
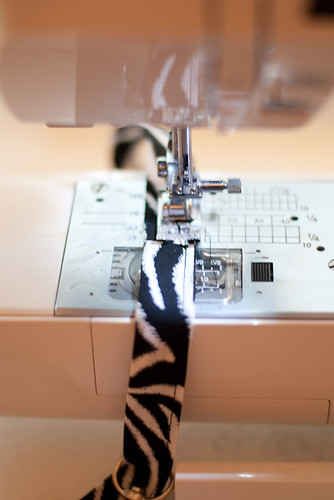
Step 10: Topstitch lengthways 1/8” from the edge of one side of the lanyard, repeating this step on the opposite edge:

Step 11: Find the seam you created in step #7 and pull your metal clasp AWAY from that seam to the opposite side of the fabric loop. Zig zag stitch the two sides of the loop together to hold the clasp in place:
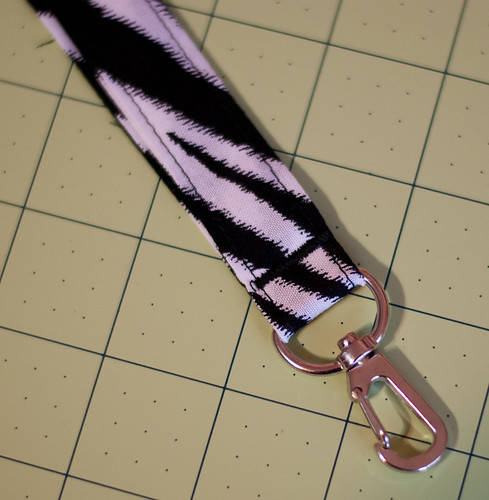
You’re done!

Thanks for this!! :) Great & easy tutorial!
ReplyDeleteThanks for the awesome tutorial!
ReplyDelete