Thursday, December 22, 2011

{Recipe} Oatmeal Cranberry Cookies

Today I am going to share with you my favorite cookie recipe. These Oatmeal Cranberry Cookies are great for a snack or for a quick breakfast! The original recipe comes from Paula Deen's The Lady & Son's, Too! cookbook. Yes, 2 sticks of butter are used, but who's counting?
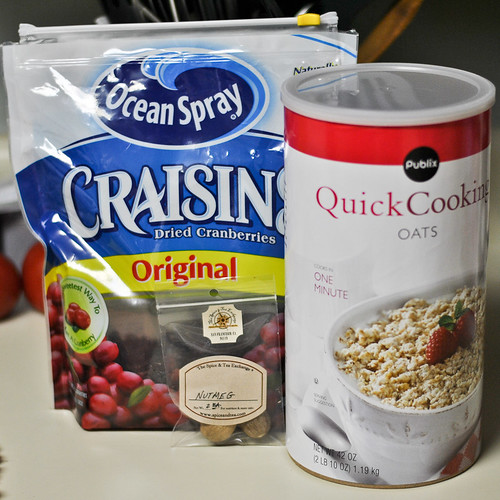
What you will need:
  • 1 cup (2 sticks) butter, at room temperature (Use real butter, margarine doesn't work very well, I have tried)
  • 1 cup granulated sugar
  • 1 cup packed light brown sugar (I just use whatever I have on hand)
  • 2 eggs
  • 1 tsp. vanilla extract
  • 2 cups all-purpose flour
  • 1 tsp. baking soda
  • 1/2 tsp. baking powder
  • 1/4 tsp. salt
  • 1/2 tsp. freshly grated nutmeg (Do not use ground nutmeg. If you don't have fresh, omit the nutmeg)
  • 2 1/2 cups quick-cooking oats
  • 2 cups dried cranberries (or raisins)
2011 12 22 Oatmeal Cranberry Cookies-1
Preheat your oven to 375 degrees. Get your baking sheets ready by either greasing or lining them with parchment paper.  In your stand mixer, cream the butter & both sugars together until light and fluffy.  Add the eggs, one at a time, beating well.  Stir in the vanilla.  In another bowl, mix the flour, baking soda, baking powder, salt & nutmeg. Beat the flour mixture into the creamed mixture. Stir in the oats & dried fruit.
2011 12 22 Oatmeal Cranberry Cookies-2
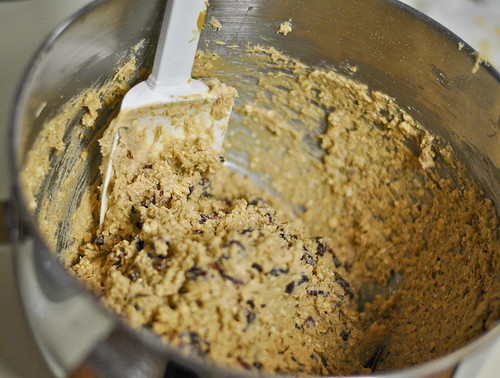
Your dough should look like this.

For uniformity in size, I like to use my ice cream scoop to spoon the dough onto the cookie sheets. If you make sure all the cookies are the same size, you will have the same doneness throughout the whole batch. If not, the smaller ones will be dry and the larger ones may not be cooked enough.
2011 12 22 Oatmeal Cranberry Cookies-3

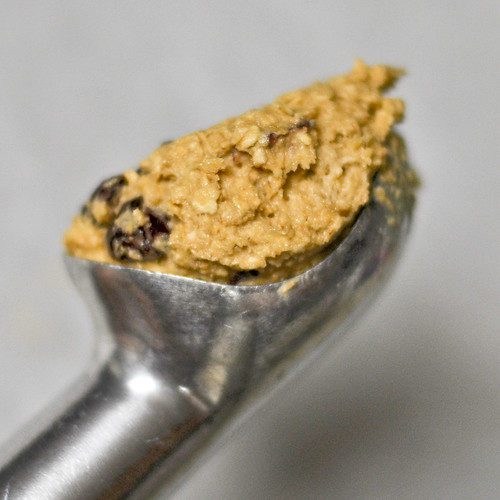
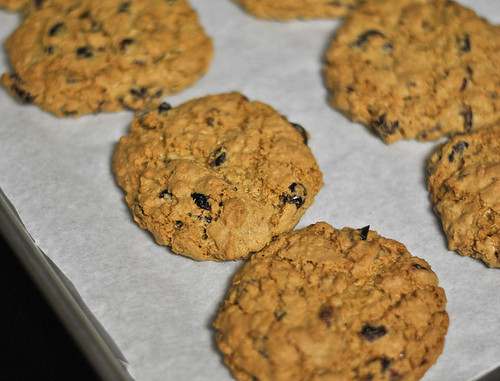
Drop the dough by uniform scoops about 2 inches apart on the baking sheets. 
2011 12 22 Oatmeal Cranberry Cookies-4

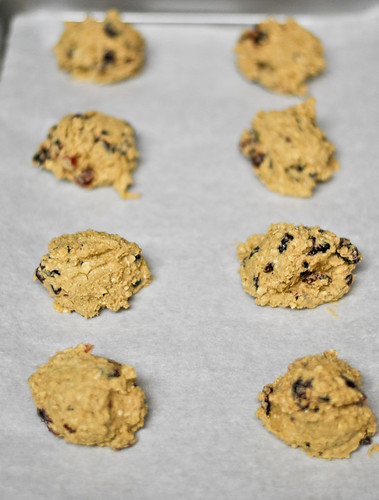
Bake for 10-12 minutes or until golden brown. With the pans I use (Pampered Chef Baking Pans or my Pampered Chef Large Bar Pan) and the size of my cookies, it ended up being more along the lines of 15-17 minutes. The outside of these cookies is crunchy and the inside is gooey! Perfection!
2011 12 22 Oatmeal Cranberry Cookies-5


Monday, December 19, 2011

{Cleaning} Old English

I am hosting people three times at my house this week, and, like any homeowner,  I want the house to look as good as possible. I say "as possible" because we've had some plumbing issues and there are still holes in the ceiling of the living room. After that incident, we decided to save up to repipe the entire house with copper. Not cheap. Alas, the holes remain. I suggest you get some of your own; they are wonderful conversation pieces.

Our house is also almost 30 years old, so it takes some major upkeep.  The kitchen cabinets are original to the house. Despite them being old, they are VERY nice classic hardwood cabinets, and they are a great color.  The frequently-used cabinets were a little worn out and grubby:


2011 12 19 Old English-1-2

I had tried everything to get this stuff off: All Purpose Cleaners, Goo Gone, furniture/wood polish, etc.. It was really frustrating that my cabinets looked like that! I like clean!


Today, on my weekly shopping trip, I was in the cleaning aisle (No surprise there. I love it.) when I saw these things:


2011 12 19 Old English-1

I put them in my cart:


cart

I immediately went to work when I got home. I couldn't wait to see what would happen! I was not disappointed! I used the Scratch Cover on the worn/grubby parts and just the lemon oil on the rest of the cabinets and my dining room table. They look refreshed and pretty nice! I suppose we can put the kitchen renovation on hold for now!


2011 12 19 Old English-2

This stuff is now on my list of favorite cleaning supplies. What are your favorite cleaning supplies?

Saturday, December 3, 2011

{Sewing} Class, Part 2

Session Two: Napkins with Fully Mitered Corners Yes, this is the project I made them start with. I know, I am crazy. But guess what? They’re coming back next Saturday and were super troopers for this napkin-making class.

Why did I choose the fully mitered corner? Well, I was going to have them start with the half miter, but the one machine that the daughter is using won’t do a zigzag stitch (it’s my old $200 Singer that I’m not paying $150 to have fixed) to finish the edges of the fabric. I couldn’t bear to have them finish their napkins with pinking shears (not the cleanest look and I can’t stand it!) so I was left with no choice.

I fed them into the fire at day 2.

I do think, though, that the focus of this project is more on exacting measurements and angles rather than actual sewing. I always tell people that sewing itself isn’t difficult, it’s making sure your measurements are spot on so that your project comes together nicely. I believe that my mind for math and OCD tendencies have served me well in sewing.

The girls did splendidly with this project!

Skills they learned:
~Rotary cutter, ruler & mat use
~Pressing up hems using the seam gauge
~Mitering corners
~Stitching a straight line & pivoting

Next session, we’ll be making some felt Christmas ornaments using some hand embroidery & embellishing techniques. It’s not the most sewing-intensive project, but it’s what they wanted to do! (For these sewing lessons, I left the projects up to the ladies--with some guidance of course). They’ll also be bringing whatever of the napkins they haven’t finished during the week. We’ll finish those up, hopefully.